When you get badly injured and are bleeding out, having a tourniquet handy and knowing how to apply it within seconds can save your life. A prepper should, therefore, learn the right way to use and store it, an article in Imminent Threat Solutions (ITS) states.
The very first thing to do is buy proper tourniquets from trusted suppliers. Never try to improvise one.
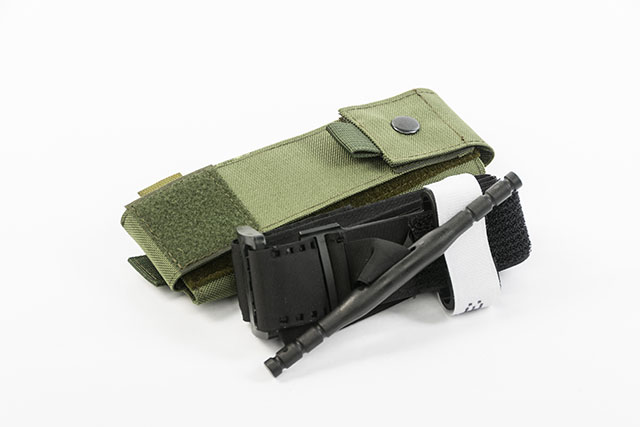
When it comes to picking a tourniquet, the only options are the SOF Tactical Tourniquet (SOFTT) and the Combat Application Tourniquet (CAT). These are the tourniquets vetted by the U.S. Special Forces.
The SOFTT has a better reputation, as its CAT competitor has been known to break during application, so it is best to go with the former.
Once you have your tourniquet, learn how to apply it. There are certain ground rules that will maximize its effectiveness. (Related: The versatile safety pin: 17 reasons you should have some in your bugout bag and survival cache.)
Important things to remember when applying a tourniquet
If you need to pull on the tourniquet, tug it towards the midline of your body. Think of a vertical line that splits your body right down the middle. That is where you direct your pull. It can be done with just one hand if necessary.
Second, make sure to set the tourniquet as high as possible. Do not put it on a joint; those parts of our body are meant to move, so the device will be loosened.
Third, take the tourniquet by its loop whenever you pull it. This prevents it from spinning out of control, which you will appreciate if you are using it with just one hand.
On a related note, resist the temptation of going for the tail. Wait until the loop is tight. Only then can you pull on the tail of the tourniquet. This should remove all remaining slack from the device.
Sometimes, a little slack stays in the tourniquet. Perhaps its position stops it from getting tightened. In these cases, you can grip the base and adjust its position before taking up the remaining slack.
Now that the tourniquet is secured in place, grab the windlass and turn it until the bleeding comes to a halt. Then anchor it by locking both ends of the rod into their associated d-ring. Each end has a groove that will lock the windlass in place.
There is a tag on the tail of the SOFTT. Write down the time and date when you applied the tourniquet. The information about the length of time it remained in place will guide hospital staff in treating the wound.
Practice makes perfect. Train yourself until you can take the tourniquet out of its storage and apply it in 12 seconds. The SOFTT is tough, so you can use it many times. Check its status after each practice session.
Preparing and storing your new tourniquet
Storing your tourniquet is just as vital. Always keep it within immediate reach, preferably in a convenient spot on your person.
Once you have purchased a tourniquet, take it out of its wrapper immediately. The few seconds you need to rip open the package could make a difference.
Alter the size of the strap loop according to your preference. A big loop lets you fit it over thick clothes and boots, while a small loop has less slack.
Next, adjust the slack in the windlass. The less slack, the faster you can tighten the webbing.
The buckle needs inspection as well. It needs to be tightly connected while being easy to open.
If you liked this guide to using and storing tourniquets, you can find similar articles on survival equipment at Gear.news.
Sources include:
ITSTactical.com
QuadMed.com [PDF]