How to make your own penicillin… just in case
01/03/2019 / By Isabelle Z.
The discovery of penicillin is considered a landmark moment in modern medicine. Although antibiotic overuse is a very serious problem, there is no denying that there are situations where antibiotics like penicillin can save your life. But what happens when you don’t have the luxury of heading to a hospital to get it?
You may be surprised to learn that it is completely possible to make your own penicillin. It’s definitely not the recommended course of action, especially if you have access to a doctor or hospital, but if there’s a collapse situation and you’re facing an infection, it just may be worth a try. Learn how to make it now just in case and ensure you have everything on hand, but keep in mind that it can take some weeks for the mold to start growing, so this isn’t the best solution for a fast-moving infection.
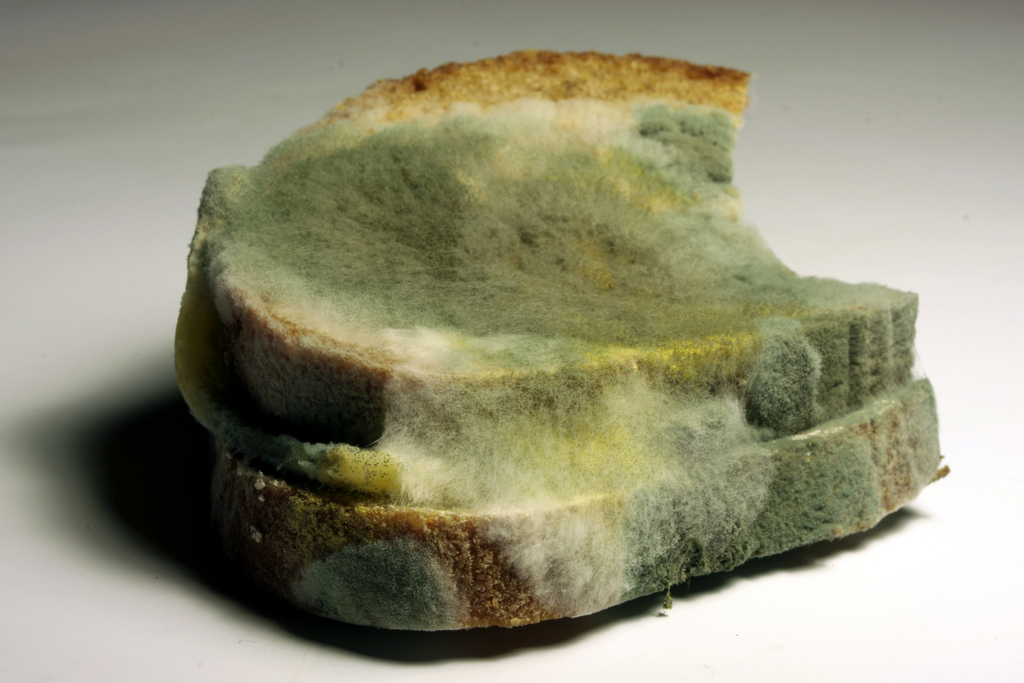
You can use old bread or a citrus peel as a starter to grow mold. Put it in a dark place in a container that is closed but not airtight; a temperature of around 70 degrees Fahrenheit is ideal. You might add a few drops of water to encourage the mold to grow.
When your fruit or bread starts to develop a gray mold, you’re on the right track, but you need to wait until it turns a bluish-green shade to turn it to penicillin. When it gets to this point, you’ll then need to incubate it in a sterilized flask for about a week.
The next step is separating the penicillin from the rest of the fungus. You’ll need to take 500 milliliters of cold tap water and dissolve the following ingredients in it in consecutive order: 44 grams of lactose monohydrate, 25 grams of cornstarch, 3 grams of sodium nitrate, 0.25 grams magnesium sulfate, 0.5 grams potassium monophosphate, 2.75 grams glucose monohydrate, 0.044 grams zinc sulfate, and 0.044 grams manganese sulfate; it will be useful to have a scale capable of measuring milligrams for this experiment.
Once the contents have dissolved, add another 400 ml of cold water or however much water is needed to end up with a full liter of the solution. Then, dip litmus paper into the solution to ensure it’s at the right pH; add as many drops of hydrochloric acid as needed to get it in the range of 5.5 to 6.
Next, add your mold to this solution and seal it up. Seven days later, you should see the separated penicillin floating on the top; skim this off with filter paper and save it in a dry container until needed.
Make sure everything you use is sterile, and keep in mind that this advice is for emergencies only in survival situations. This article should not be interpreted as any sort of official medical advice. It’s extremely risky to make your own antibiotics without the right equipment and training, and it’s even more challenging to diagnose yourself without using hospital-grade equipment. Think of this as an absolute last resort, and keep in mind that you may have grown other dangerous mold or bacteria in addition to the penicillin.
Natural antibiotics are a safer bet
To be on the safe side, you might want to consider stocking up on natural alternatives to antibiotics. When medical help isn’t available, you can try solutions like oregano oil, a natural antibiotic that works well for bacterial, fungal and parasite problems. It’s particularly valuable in fighting upper respiratory infections.
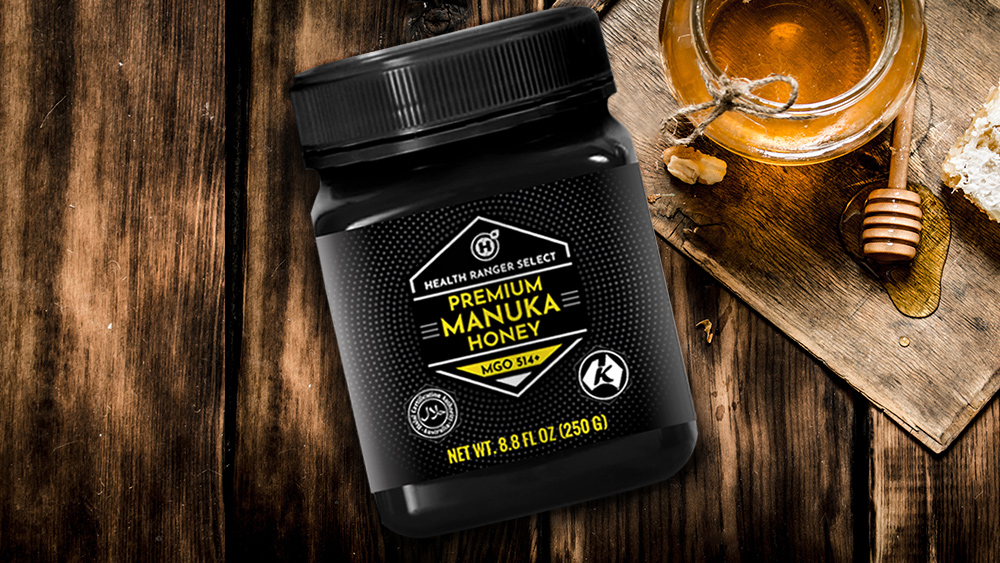
Garlic is another good choice; the allicin compound it contains is a broad-spectrum antibiotic with antimicrobial properties. For skin infections and burns, manuka honey is a great choice to apply topically. It’s best to consider natural antibiotics before taking the risk with homemade penicillin.
Read SurvivalMedicine.news for more articles.
Sources for this article include:
Tagged Under: Antibiotics, Collapse, emergency medicine, Gear, homemade antibiotics, Homestead, mold, natural antibiotics, natural medicine, off grid, penicillin, penicillin recipe, prepping, survival, survival gear, survival medicine

